Creating Umbraco Packages: Week 15

Hello everyone!
This week we'll be taking a look at the redirect module that I've been working on and some of the differences with my other redirect module: SimpleRedirects.
And as you've probably noticed, there was no blog post last week. I've decided to have these blog posts every 2 weeks. It allows me to have a bit more time to work on the functionalities instead of having to rush on functionalities just to have the ability to write about it.
Redirects
In the last 2 weeks, I've been working on a redirect module. I am able to take some of the functionality from SimpleRedirects, but there are also a few key changes that I want to make with this module.
Interface
The first change that I wanted to make is about the interface. While I don't hate the SimpleRedirects interface, it makes it difficult to extend on it. What if I would want to have an extra option? I would have to figure that out. And it really has its own styling, while I am trying to follow the styling of Umbraco a bit more with my SeoToolkit package.
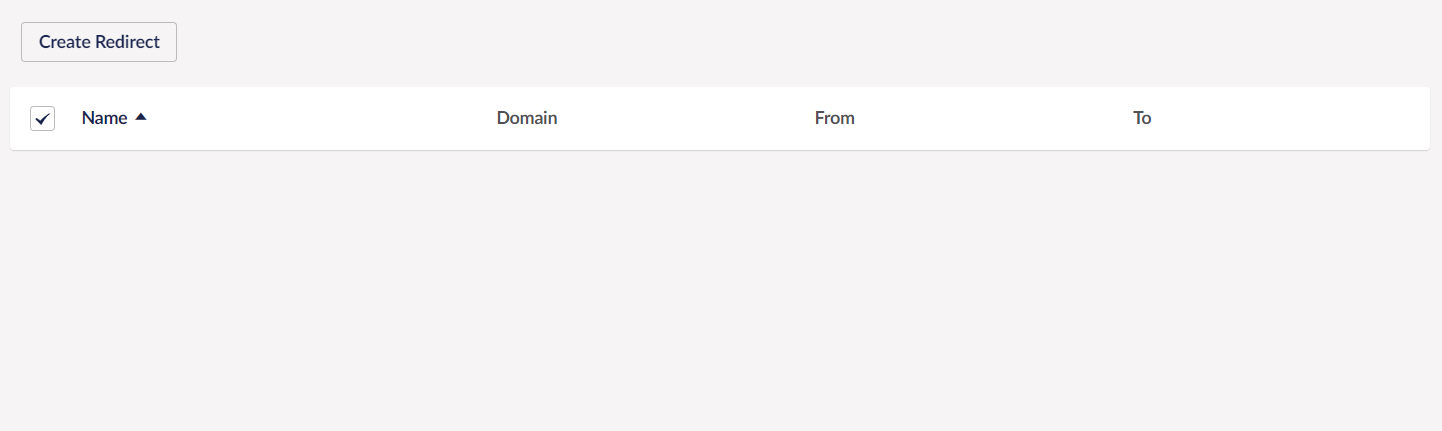
So, for the overview we have a simple Umbraco table:
That really isn't anything exciting, but if we now click on the "Create redirect" button, it'll open an infinite editing screen:
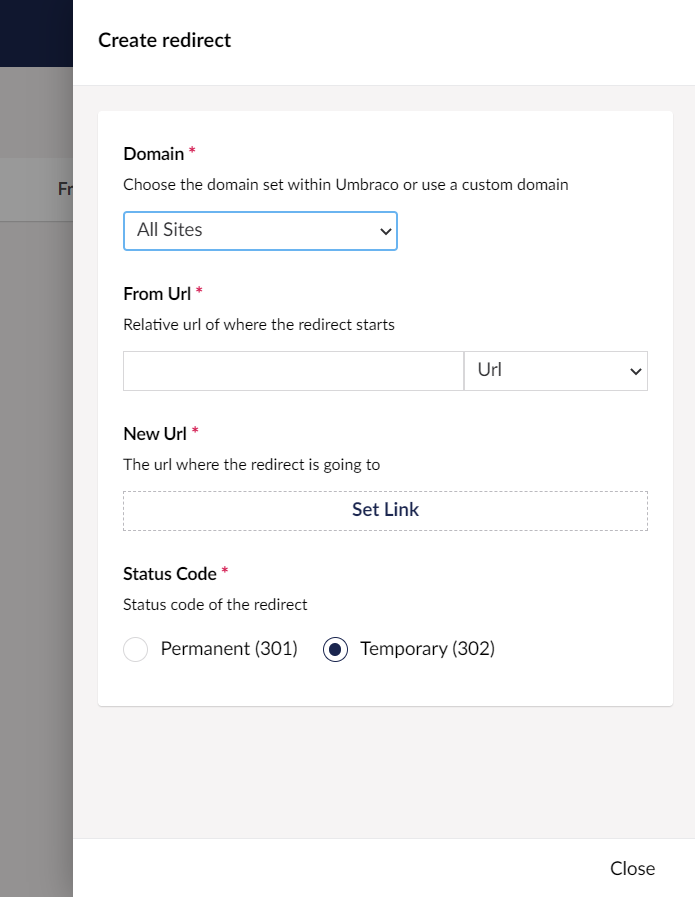
And this is the main change in regards to SimpleRedirects as I can do a lot more with this screen than with the old one. So, let's quickly go over the fields.
Domain
We start with the domain field. This isn't part of SimpleRedirects, but should make it easier for users to work with. The user can select to have a redirect for all sites, a specific domain in Umbraco or a custom domain.
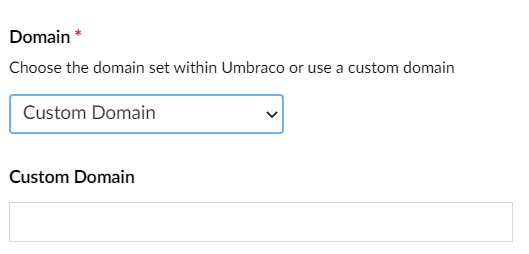
In SimpleRedirects, you were able to add relative URLs or absolute URLs and that could be a bit confusing. This way, it is clear for the user on what domains this redirect will take place.
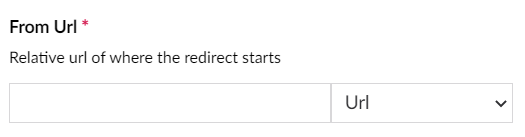
From URL
Then we have the from URL property. This is a relative URL from where the redirect starts. You can also notice that you have a dropdown to the right. This is to switch between URL or Regex.
New URL
And then we have the URL where you'll be redirected to. And this is a huge change to the one in SimpleRedirects. Clicking on "Set Link" will open up a new screen:
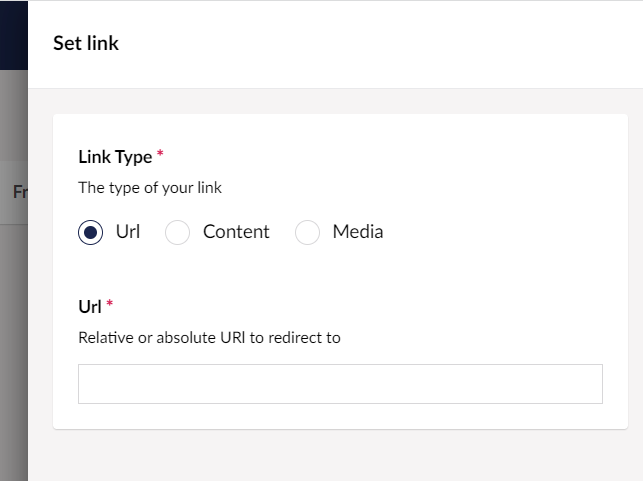
Here you can select if you want to add your own URL or link to a content/media item. You can also switch between the different languages of that content/media item. So as an user, I can easily link to the content that I want without having to worry what the URL is again. And it also allows me to easily switch cultures if that is needed.
Status codes
And then the status codes. Nothing very special here.
And that is the current redirect module. I should be able to finish this up quite soon as the interface took a bit longer than I had expected. But more on that in two weeks. Thanks for reading and have a great week everyone!


